
A solar charge controller regulates energy flow from panels to batteries, ensuring efficient charging and protection. It’s a key component for system safety and optimal performance, featuring PWM/MPPT technology and adjustable settings.
1.1 What is a Solar Charge Controller?
A solar charge controller is a critical device that regulates the energy flow from solar panels to batteries, preventing overcharging and undercharging. It ensures efficient energy management and protects the battery from damage. Available in PWM and MPPT types, it offers adjustable settings and monitoring capabilities, essential for maintaining safe and optimal system performance. Always connect the battery first to avoid electrical surges.
1.2 Importance of a Solar Charge Controller in Solar Systems
A solar charge controller is a vital component that safeguards your solar system by regulating energy flow, preventing overcharging, and protecting batteries from damage. It ensures optimal energy efficiency, extends battery life, and maintains system reliability. Without it, your solar panels and batteries would be at risk of electrical stress, making it an indispensable part of any solar power setup.
Key Features of Top Solar Charge Controllers
Top solar charge controllers offer advanced features like MPPT/PWM technology, LCD displays for real-time monitoring, compatibility with various battery types, and built-in safety protections for reliable performance.
2.1 PWM vs. MPPT Technology
PWM (Pulse Width Modulation) and MPPT (Maximum Power Point Tracking) are two technologies used in solar charge controllers. PWM is simpler and less efficient, suitable for small systems, while MPPT optimizes energy harvesting by adjusting voltage and current, offering up to 30% higher efficiency. MPPT is ideal for larger systems and varying conditions, making it the preferred choice for maximizing solar energy capture and efficiency.
2.2 LCD Display and Adjustable Settings
A high-quality solar charge controller often features an LCD display, providing real-time monitoring of system performance, including voltage, current, and charging status. Adjustable settings allow users to customize parameters such as battery type (e.g., lead-acid, lithium), charging modes, and voltage thresholds. This flexibility ensures optimal performance for various battery technologies and environmental conditions, making the controller adaptable to different solar system needs and user preferences.
2.3 Support for Different Battery Types (Lead-Acid, Lithium, etc.)
Top solar charge controllers often support various battery types, including lead-acid, lithium (LiFePO4), AGM, and flooded batteries. This versatility ensures compatibility with different systems and user preferences. Controllers typically include settings to optimize charging for specific battery chemistries, ensuring safety and efficiency. This adaptability is crucial for maintaining battery health and maximizing system performance, making it a key feature for diverse solar energy applications and setups.
Understanding Solar Charge Controller Manuals
Solar charge controller manuals provide essential guidelines for safe installation, operation, and maintenance. They detail compatibility, features, and troubleshooting, ensuring optimal performance and system longevity.
3.1 Safety Precautions and Warnings
Solar charge controllers handle high voltages, posing electrical hazards. Always read the manual before operation to ensure safety. Avoid overvoltage, which can damage systems. Proper installation and grounding are crucial. Never connect other charging sources to the controller. Use protective gear when handling electrical components. Follow local codes and manufacturer guidelines to prevent accidents. Regular inspections are essential for maintaining system integrity and user safety.
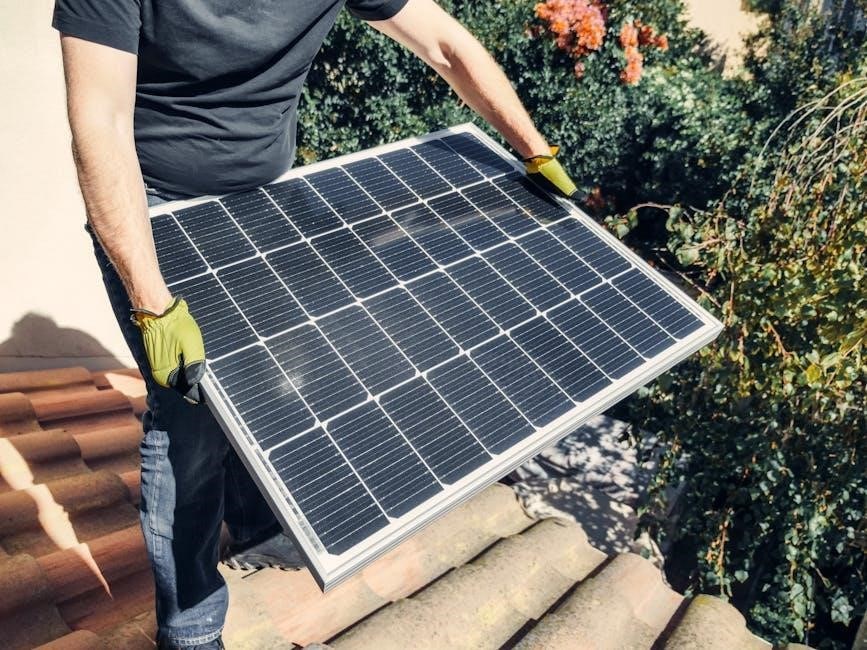
3.2 Installation Instructions for Solar Panels and Batteries
Connect the battery to the controller first, ensuring correct polarity. Then, attach the solar panel cables to the controller’s input terminals. Select the appropriate connector type for your setup, such as a cigarette lighter plug or alligator clips. Ensure compatibility with your battery type, whether lead-acid or lithium. Follow the manual’s specific instructions for configuring settings. Proper installation ensures safe and efficient energy management.
How to Choose the Right Solar Charge Controller
Select a controller by calculating your system’s voltage and current needs. Choose between PWM or MPPT technology based on efficiency requirements. Ensure compatibility with your battery type and connector setup for optimal performance.
4.1 Calculating Your System’s Voltage and Current Requirements
To choose the right controller, calculate your system’s voltage and current. Match the controller’s input voltage with your solar panel’s output. Ensure the current rating exceeds your panel’s maximum output. Consider your battery type and voltage to select a compatible controller. Proper sizing ensures efficient energy transfer and prevents system overload. Always refer to your manual for specific calculations and guidelines.
4.2 Selecting the Appropriate Connector Type
Selecting the right connector ensures compatibility with your battery and solar system. Common options include cigarette lighter plugs or alligator clip connectors. Choose based on your battery type and vehicle setup. Ensure the connector matches your controller’s output to avoid electrical issues. Proper connection guarantees efficient energy transfer and system safety. Always verify compatibility before installation to prevent damage or performance loss.

Step-by-Step Installation and Setup Guide
Connect the battery first, then the solar panels, and finally the load. Ensure proper polarity and secure connections. Configure settings like battery type and voltage limits for optimal performance.
5.1 Connecting the Battery to the Solar Charge Controller
Connect the battery to the controller first, ensuring correct polarity (positive to positive, negative to negative). Securely tighten terminals to avoid loose connections. For lithium or lead-acid batteries, select the appropriate type in the controller settings. Always refer to the manual for specific instructions to prevent system damage. Ensure the battery is fully charged before connecting solar panels. Verify all connections are secure to avoid electrical hazards.
5.2 Configuring the Controller for Optimal Performance
Adjust settings like voltage and current limits to match your system requirements. Use the LCD display to monitor and optimize performance. Enable load control for automatic ON/OFF functionality. Ensure proper battery type selection (e.g., lead-acid or lithium) for accurate charging. Refer to the manual for specific configuration steps to maximize efficiency and prevent system overvoltage. Regularly check and update settings as needed for optimal energy management.
Advanced Features and Settings
Advanced controllers offer features like load control, manual ON/OFF, and MPPT for enhanced customization. These settings improve efficiency and cater to specific system needs and preferences.
6.1 Load Control and Manual ON/OFF Functionality
Load control enables automatic ON/OFF based on battery levels, while manual control offers flexibility. These features prevent over-discharge and allow users to manage energy use efficiently, optimizing system performance and battery longevity.
6.2 Maximum Power Point Tracking (MPPT) for Efficiency
MPPT technology optimizes energy harvesting by continuously tracking the solar panel’s maximum power point. It adjusts the system to extract the highest possible energy, especially under varying conditions like shading or temperature changes. This advanced feature significantly improves efficiency, capturing up to 30% more energy compared to PWM controllers, ensuring better performance and reliability in solar power systems.
Maintenance and Troubleshooting Tips
Regularly clean panels, check connections, and inspect cables. Look for error codes and battery imbalances. Ensure proper ventilation to prevent overheating and system downtime.
7.1 Regular Checks to Ensure System Efficiency
Perform routine inspections of solar panels, ensuring they are clean and free from debris. Verify all connections are secure and not corroded. Monitor the charge controller’s display for error codes or unusual readings. Check battery voltage and state of charge regularly. Inspect cables for damage or wear. Ensure proper ventilation around the controller to prevent overheating. Maintain a record of system performance for long-term efficiency tracking.
7.2 Common Issues and How to Resolve Them
Common issues include error codes, overvoltage, or faulty connections. Check the manual for specific error code meanings and reset the system if necessary. Ensure all terminals are tight and free from corrosion. For overvoltage, adjust settings or install a voltage limiter. If the controller overheats, improve ventilation or reduce load. Regularly update firmware for optimal performance and troubleshoot connectivity issues promptly to maintain efficiency.

Safety Guidelines and Best Practices
Avoid overvoltage by setting voltage limits and using protective devices. Ensure proper insulation of all connections to prevent electrical hazards. Follow local codes for safe installations and always use certified equipment.
8.1 Avoiding Overvoltage and Electrical Hazards
Overvoltage can severely damage solar systems, so setting voltage limits is crucial. Always use protective devices like surge protectors and ensure proper insulation of connections to prevent electrical hazards. Follow local electrical codes for safe installations and use certified equipment to minimize risks. Regular inspections and adhering to safety guidelines help maintain system integrity and prevent potential dangers effectively.
8.2 Ensuring Compliance with Local Electrical Codes
Always verify that your solar system meets local electrical codes and regulations. Ensure installations are performed by licensed professionals and use certified equipment. Regular inspections and adherence to safety standards help maintain compliance. Familiarize yourself with local permits and guidelines to avoid legal issues. Proper documentation and system labeling are also essential for meeting regulatory requirements and ensuring a safe, lawful installation.
A solar charge controller is crucial for efficient and safe energy management. Choosing the right one enhances system performance and longevity, ensuring optimal energy storage and usage always.
9.1 Summary of Key Takeaways
Understanding solar charge controllers is essential for optimizing solar systems. Key points include selecting the right technology (PWM or MPPT), ensuring safety, and proper installation. Advanced features like LCD displays and battery type support enhance functionality. Regular maintenance and adherence to electrical codes are critical for long-term efficiency and safety. Always refer to the manual for specific instructions and configurations to maximize performance and longevity of your solar setup.
9.2 Recommendations for Future Upgrades
Consider upgrading to MPPT controllers for higher efficiency and energy savings. Invest in units with remote monitoring capabilities for real-time system insights. Look for controllers with expandable capacity to accommodate future solar panel additions. Prioritize models with advanced safety features, such as overvoltage protection and smart load control, to ensure long-term reliability and performance. Regularly update firmware for optimal functionality and security.

Additional Resources and Further Reading
For deeper insights, explore manufacturer websites like TOPSOLAR for detailed manuals. Visit forums such as Solar Power Forums for user experiences. Check YouTube channels like Shoestring Prep for installation tutorials. Read reviews on Amazon for product comparisons. Refer to technical guides from eSmart2 for advanced MPPT settings. Download PDF manuals from trusted sources for comprehensive understanding and troubleshooting tips.
Leave a Reply